How to watermark multiple images at same time?
Protecting your images from unauthorized use is crucial in today's digital landscape. Whether you're a photographer, designer, or content creator, learning how to watermark images in bulk can save you hours of manual work while ensuring your intellectual property remains protected.
What You'll Learn
- • How to add watermarks to multiple images simultaneously
- • Best practices for watermark placement and transparency
- • Different watermark types: text, logo, and transparent overlays
- • Quality preservation techniques during batch processing
- • Legal considerations for image protection
Why Watermark Your Images?
Image theft is rampant online, with studies showing that over 2.5 billion images are stolen daily. Watermarking serves multiple purposes:
🛡️ Copyright Protection
Watermarks establish ownership and deter unauthorized use of your images.
📈 Brand Recognition
Consistent watermarking builds brand awareness and drives traffic back to your site.
💰 Revenue Protection
Prevents competitors from using your images without permission or payment.
🎯 Professional Image
Watermarks give your work a professional, polished appearance.

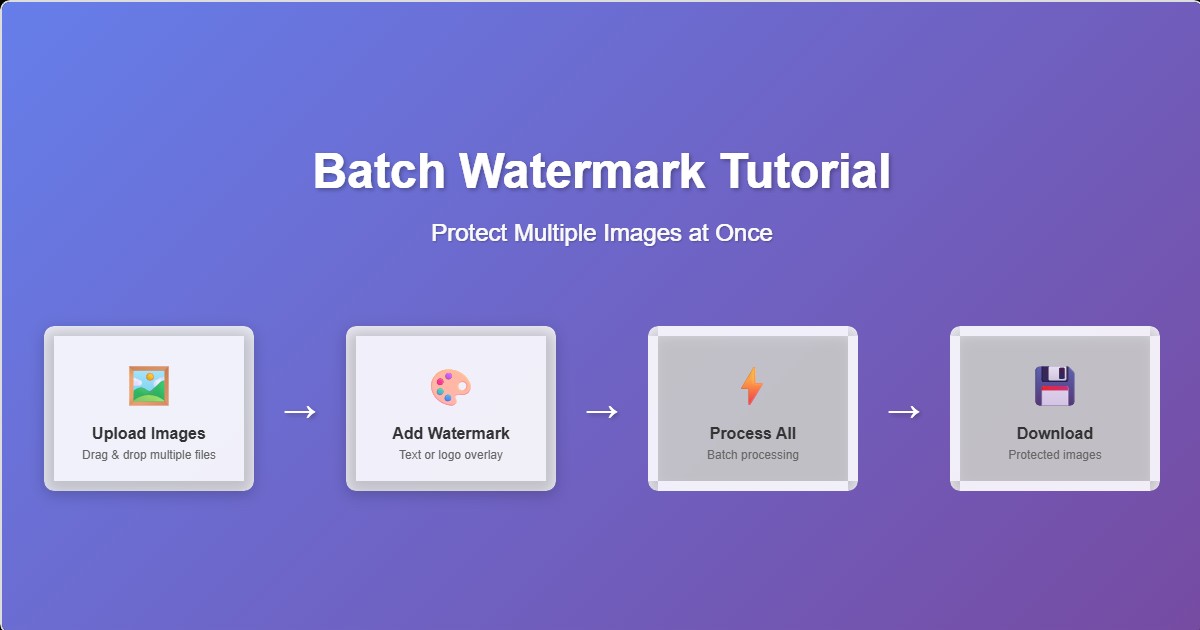
Step-by-Step Watermarking Process
1. Prepare Your Images
Before starting the watermarking process, organize your images in a dedicated folder. Our tool supports all major formats including JPEG, PNG, GIF, and WebP. For best results, ensure your images are in their final resolution before watermarking.
💡 Pro Tip
Always keep backup copies of your original, unwatermarked images. This allows you to apply different watermarks or remove them entirely if needed.
2. Choose Your Watermark Type
CreatorBatch offers three types of watermarks, each suited for different use cases:
Text Watermarks
Perfect for copyright notices, website URLs, or photographer names. Fully customizable with different fonts, sizes, and colors.
Logo Watermarks
Upload your company logo or personal brand mark. Supports transparent PNGs for seamless integration.
Transparent Overlays
Subtle patterns or semi-transparent designs that don't interfere with image viewing but still provide protection.

3. Position and Customize
Watermark placement is crucial for effectiveness. Our tool offers 9 preset positions plus custom placement options:
Opacity Settings
The ideal watermark opacity depends on your image content and intended use:
- 10-30%: Subtle protection for high-quality previews
- 40-60%: Balanced visibility without overwhelming the image
- 70-90%: Strong protection for public galleries or portfolios
- 100%: Maximum protection for preventing unauthorized use
4. Batch Processing
Once you've configured your watermark settings, the batch processing begins. Our cloud-based system can handle:
- Up to 100 images per batch (free users)
- Up to 1000 images per batch (premium users)
- Files up to 50MB each
- Automatic format preservation
- Quality optimization to prevent file bloat

Advanced Techniques
Dynamic Watermarking
For photographers and agencies managing large volumes of images, dynamic watermarking can include:
- Automatic filename integration (e.g., "IMG_001.jpg" becomes part of watermark)
- Date stamps based on EXIF data
- Camera model and settings display
- Sequential numbering for series
Quality Preservation
Our watermarking process uses advanced algorithms to maintain image quality:
- Lossless PNG watermarking for maximum quality
- Smart JPEG compression that preserves detail
- Color space preservation (sRGB, Adobe RGB)
- EXIF data retention for photography workflows
Legal and Best Practices
Copyright Law Considerations
While watermarks provide practical protection, understanding your legal rights is important:
- Watermarks serve as notice but don't create copyright (copyright exists upon creation)
- Include © symbol, year, and your name for formal notice
- Register important works with copyright office for stronger legal protection
- Document infringement with screenshots and timestamps
Industry-Specific Applications
Photography
Wedding photographers typically use 20-30% opacity corner watermarks. Portfolio images often feature centered logos at 50% opacity.
E-commerce
Product images benefit from subtle bottom-corner watermarks that don't interfere with product visibility but prevent competitor theft.
Stock Photography
Preview images typically use diagonal watermarks or grid patterns at 70% opacity to prevent unauthorized use while showing image quality.
Social Media
Influencers and content creators use branded watermarks to maintain consistency across platforms and drive traffic to their profiles.
Troubleshooting Common Issues
Watermark Too Visible
Reduce opacity or choose a lighter color. For text watermarks, try using a color that's closer to the image's dominant hue.
Watermark Not Visible Enough
Increase opacity or add a subtle drop shadow. White text on light images benefits from a dark outline or background.
Quality Loss After Watermarking
Ensure you're using PNG format for watermarks with transparency. Check that JPEG quality is set to 90% or higher for final output.
Watermark Doesn't Scale Properly
Use relative sizing (percentage of image dimensions) rather than fixed pixel sizes when processing images of varying sizes.
Getting Started with CreatorBatch
Ready to protect your images with professional watermarks? Our batch watermarking tool makes it easy to process hundreds of images in minutes while maintaining perfect quality.
Free Features Include:
- • Up to 100 images per batch
- • Text and logo watermarks
- • 9 preset positions + custom placement
- • Opacity control (0-100%)
- • Multiple output formats
- • No registration required