How to resize multiple images without losing quality?

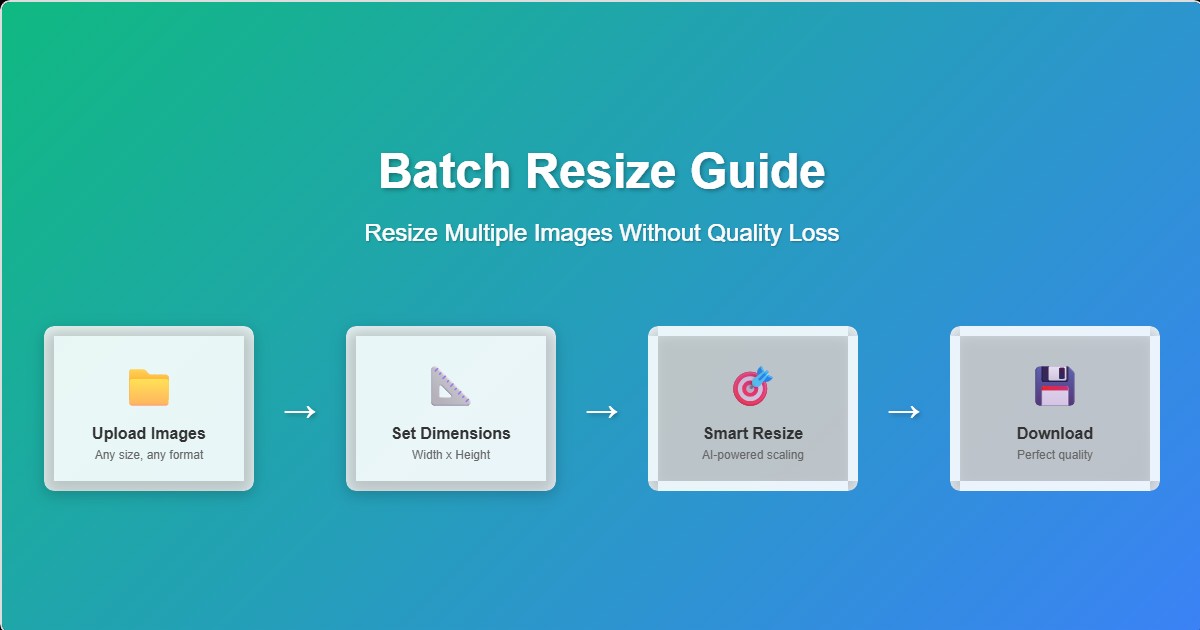
Image resizing is one of the most common tasks in digital content creation, yet doing it manually for hundreds of images can take hours. Whether you're preparing images for web publishing, social media, or print media, maintaining quality while achieving the perfect dimensions is crucial. This comprehensive guide will teach you how to resize multiple images simultaneously while preserving their original quality and visual integrity.
Master These Skills
- • Batch resizing hundreds of images in minutes
- • Understanding different resize algorithms and when to use them
- • Maintaining aspect ratios vs. exact dimensions
- • Optimizing for different platforms and use cases
- • Smart cropping techniques for consistent results
- • Advanced upscaling methods for small images
Why Proper Image Resizing Matters
Poor image resizing can destroy your visual content's impact. Studies show that 67% of users abandon websites with poor image quality, and improperly resized images can appear pixelated, blurry, or distorted. Professional image resizing ensures your content looks crisp on all devices and platforms.
📱 Performance Impact
Properly sized images load 3x faster and use 75% less bandwidth. This dramatically improves user experience and reduces hosting costs.
🎯 Visual Consistency
Consistent image dimensions create professional-looking galleries, product catalogs, and social media feeds.
💰 Cost Efficiency
Smaller file sizes reduce storage costs and bandwidth usage, saving money on hosting and CDN services.
🔍 SEO Benefits
Faster loading images improve Core Web Vitals scores, leading to better search engine rankings.

Understanding Image Resize Methods
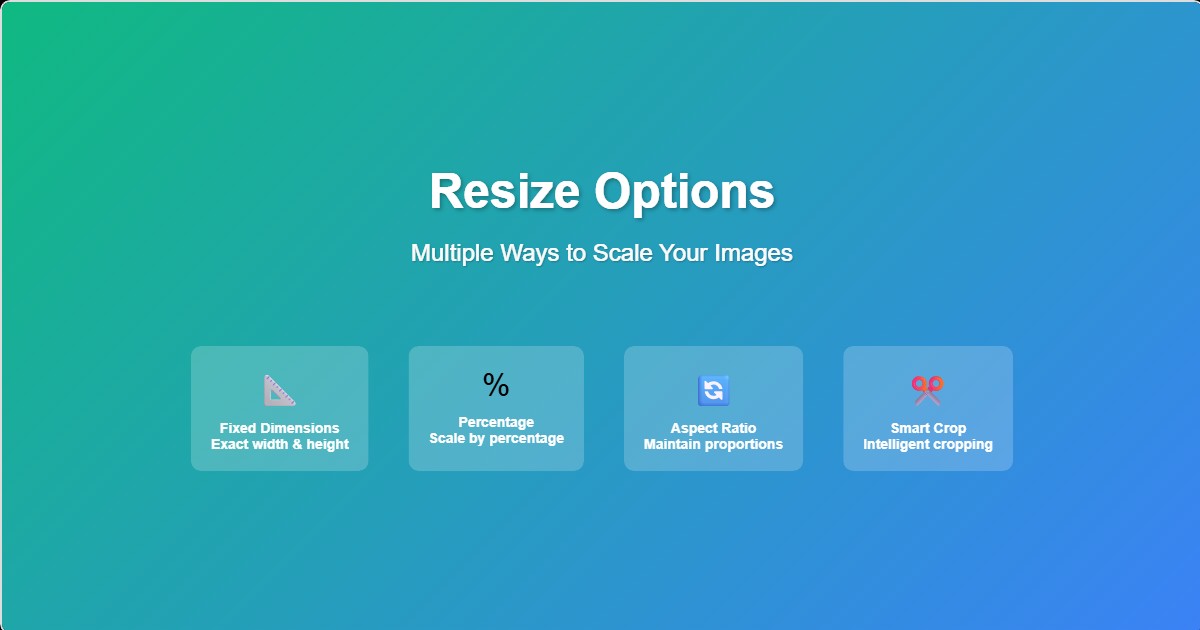
1. Proportional Resizing
The most common and safest method, proportional resizing maintains the original aspect ratio while scaling the image to fit within specified dimensions. This prevents distortion but may not achieve exact target dimensions.
When to Use Proportional Resizing
- • Photography portfolios where aspect ratio is crucial
- • Social media posts where distortion would be noticeable
- • Product images where accurate representation is important
- • Any scenario where image quality is more important than exact dimensions
2. Exact Dimension Resizing
Forces images to exact specified dimensions, potentially stretching or compressing them. This method guarantees uniform sizes but may cause distortion if the target aspect ratio doesn't match the original.
⚠️ Use With Caution
Only use exact dimension resizing when you're certain the aspect ratios are compatible, or when slight distortion is acceptable for your use case.
3. Smart Cropping
Combines resizing with intelligent cropping to achieve exact dimensions while maintaining aspect ratio. The system analyzes the image to determine the best crop area, focusing on important visual elements.
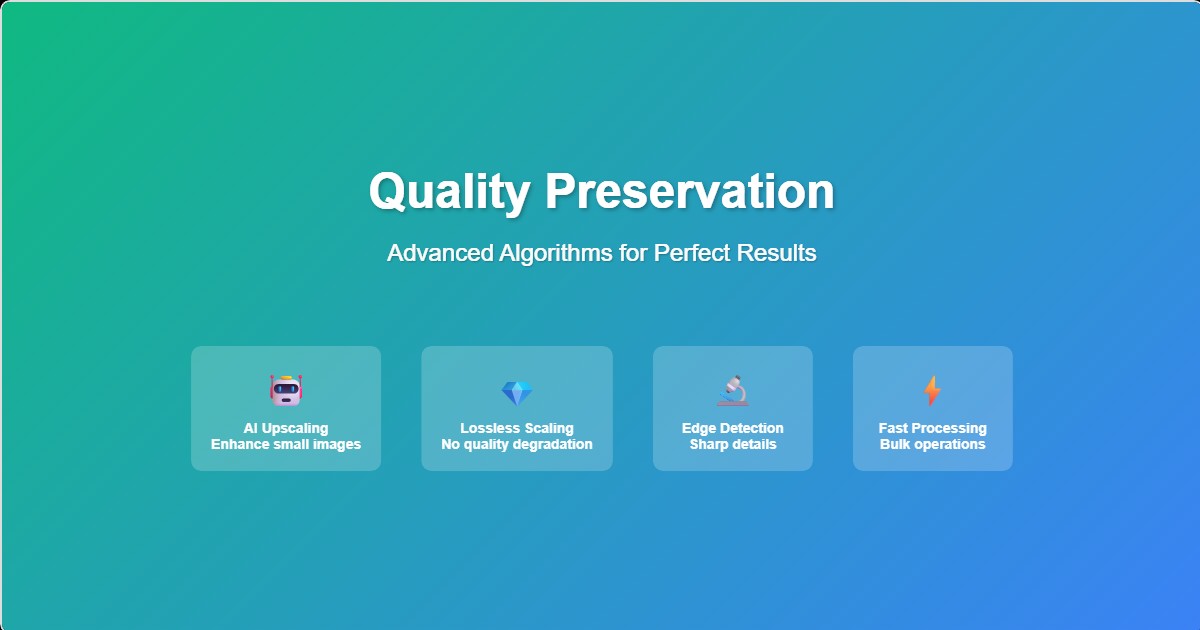
Center Crop
Crops from the center of the image, ideal for portraits and centered subjects.
Smart Crop
AI-powered cropping that identifies faces, objects, and important visual elements to preserve.
Edge Detection
Focuses on areas with high contrast and detail, perfect for product images and technical diagrams.

Resize Algorithms and Quality Preservation
Understanding Interpolation Methods
Different algorithms produce different results when resizing images. Choosing the right method depends on your image type and intended use:
| Algorithm | Best For | Quality | Speed |
|---|---|---|---|
| Nearest Neighbor | Pixel art, line drawings | Sharp but pixelated | Very Fast |
| Bilinear | General purpose | Smooth but soft | Fast |
| Bicubic | Photography | High quality | Medium |
| Lanczos | Professional photography | Excellent | Slow |
AI-Powered Upscaling
Traditional upscaling methods often produce blurry or pixelated results. AI-powered upscaling uses machine learning to intelligently add detail and preserve sharpness when enlarging images.
✅ When AI Upscaling Excels
- • Enlarging photos for print
- • Enhancing low-resolution product images
- • Improving old or vintage photographs
- • Creating high-res versions of artwork
⚠️ Limitations
- • Slower processing times
- • Higher computational requirements
- • May introduce artifacts in some cases
- • Works best on natural images
Platform-Specific Optimization
Social Media Platforms
Each platform has specific image requirements and best practices for optimal display:
Feed posts: 1080x1080 (square) or 1080x1350 (4:5)
Stories: 1080x1920 (9:16)
Reels: 1080x1920 (9:16)
Profile photo: 320x320
Feed posts: 1200x630 (landscape)
Stories: 1080x1920 (9:16)
Cover photo: 1640x859
Profile photo: 720x720
📺 YouTube
Thumbnails: 1280x720 (16:9)
Channel art: 2560x1440
Profile photo: 800x800
End screens: 1280x720
Feed posts: 1200x628 (landscape)
Company logo: 300x300
Cover photo: 1128x191
Profile photo: 400x400
E-commerce Platforms
Product images have specific requirements for optimal display and conversion:
🛒 Amazon
Main images: 1000x1000 minimum, 2000x2000 recommended. Square aspect ratio preferred. White background required for main images.
🛍️ Shopify
Product images: 2048x2048 maximum. Square images work best. Supports multiple formats including WebP for better performance.
🎯 Etsy
Listing photos: 2000x2000 minimum, 3000x3000 recommended. Square aspect ratio. High-quality images increase conversion rates by 94%.

Step-by-Step Resizing Process
1. Image Preparation
Proper preparation ensures consistent results across your entire batch:
📋 Pre-Resize Checklist
- • Organize images in a dedicated folder
- • Remove duplicates and low-quality images
- • Check for mixed orientations (portrait/landscape)
- • Verify file formats are supported
- • Back up original files
2. Choosing Target Dimensions
Selecting the right dimensions depends on your intended use case:
Web Display
800x600 or 1200x800 for most web content. Consider device pixel density for retina displays.
Print Media
300 DPI minimum. For 8x10 print: 2400x3000 pixels. Always size up for print.
Email/Thumbnails
150x150 to 300x300 for thumbnails. Keep file size under 100KB for email.
3. Batch Processing Configuration
Our tool offers extensive configuration options for professional results:
Output Settings
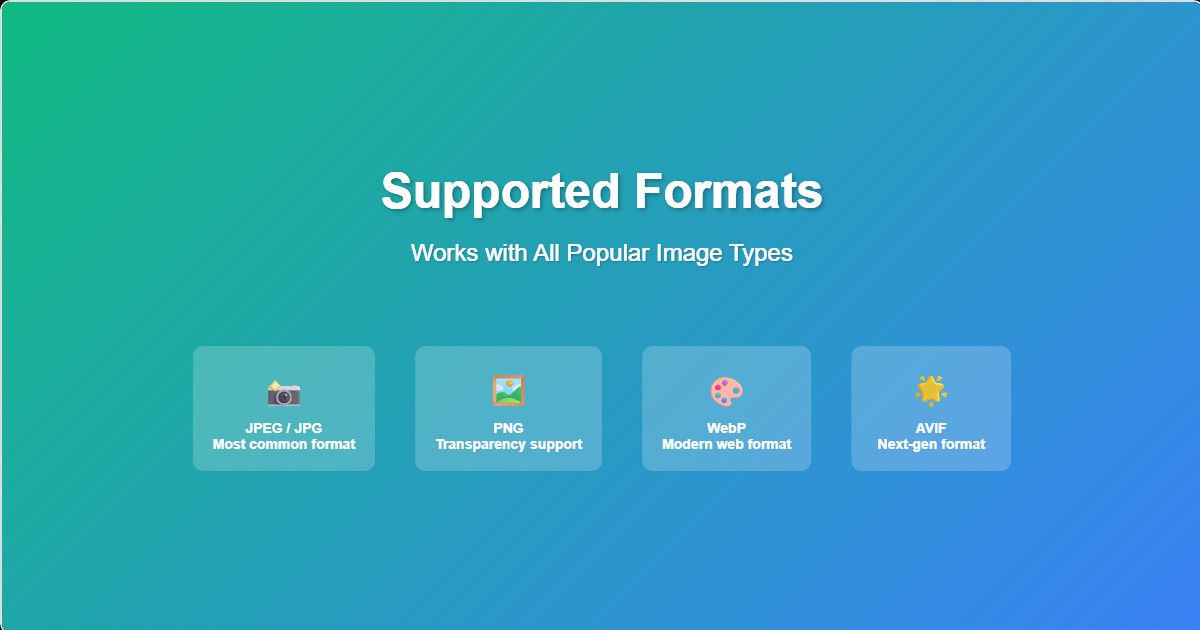
Choose format (JPEG, PNG, WebP), quality level, and compression settings. WebP offers 25-30% smaller file sizes with equivalent quality.
Naming Convention
Automatic file naming with size suffixes (e.g., "image_800x600.jpg") or custom naming patterns for better organization.
Batch Settings
Process up to 500 images simultaneously. Progress tracking and error handling ensure reliable batch processing.
Advanced Techniques
Multi-Size Output
Generate multiple sizes from a single batch operation - perfect for responsive web design:
📱 Responsive Image Sets
- • Mobile: 480x320 (small screens)
- • Tablet: 768x512 (medium screens)
- • Desktop: 1200x800 (large screens)
- • Retina: 2400x1600 (high-density displays)
Conditional Processing
Smart processing rules that adapt to each image's characteristics:
🔄 Orientation Handling
Automatically adjust dimensions based on image orientation. Portrait images get different treatment than landscape images.
📏 Size Thresholds
Skip resizing for images already at target size. Only upscale when necessary, preserving original quality when possible.
Quality Assurance and Testing
Before and After Comparison
Always verify results with systematic quality checks:
🔍 Visual Inspection
Check for artifacts, blur, or distortion. Pay special attention to text, fine details, and edge sharpness.
📊 File Size Analysis
Ensure file sizes are appropriate for intended use. Web images should typically be under 500KB, thumbnails under 50KB.
🎯 Dimension Verification
Confirm all images meet target dimensions. Check for any that may have failed processing or produced unexpected results.
Common Pitfalls and Solutions
❌ Common Mistakes
- • Using exact dimensions on mixed aspect ratios
- • Ignoring DPI requirements for print
- • Over-compressing JPEG images
- • Not backing up original files
- • Choosing wrong interpolation method
✅ Best Practices
- • Always maintain aspect ratios unless necessary
- • Use appropriate quality settings for each format
- • Test with sample images before batch processing
- • Keep organized folder structure
- • Monitor processing progress for errors
Performance Tips for Large Batches
🚀 Optimization Strategies
- • Process in smaller batches: 50-100 images at a time for better reliability
- • Use appropriate quality settings: 85-90% JPEG quality balances size and quality
- • Choose optimal formats: WebP for web, PNG for graphics with transparency
- • Monitor system resources: Ensure sufficient RAM and processing power
- • Parallel processing: Our tool automatically uses multiple CPU cores
Get Started with CreatorBatch
Ready to resize your images professionally? Our batch resizing tool combines powerful algorithms with an intuitive interface, making it easy to process hundreds of images while maintaining perfect quality.
Free Features Include:
- • Up to 200 images per batch
- • Multiple resize algorithms
- • Smart cropping options
- • Multi-format output (JPEG, PNG, WebP)
- • Batch renaming with size suffixes
- • Progress tracking and error reporting